
Flannel Nightgown

I mostly sleep in pajama pants and a t-shirt, but lately I have been feeling nostalgic for night gowns. As a kid, I loved flannel nightgowns. They are so warm and cozy.
Project 1/26
In order to start off on a positive note, I did something fairly simple with my first project of the year.
Back in the day, I used to make flannel pajamas for my kids, which lead to me buying tons of flannel during Black Friday Sales. One year, I didn’t have time to make the pajamas, and I just kind of stopped making them for several years.
In an initial attempt to reduce my fabric stash, this past year, I revisited making pajama bottoms for my family. As I went through the prints I had, I discovered that I had a pretty large quantity of on particular print that I had bought with myself in mind many years ago. Enter flannel nightgown! I don’t have a pattern for and adult size nightgown and the idea of making a traditional flannel nightgown with a yoke and all the gathers really seemed like too much work. I was hoping for something just a little cuter. In my mind I envisioned something somewhat Regency era inspired (in the general silhouette, not in construction techniques or anything like that.) I wanted it floor length and with an empire waistline. It had to be comfortable and avoid anything that would pull or be restrictive while I sleep.
I used the Charm Patterns Rita Blouse pattern as a starting point. For the body of the gown, I used the upper front and upper back pieces, but I extended the side seam down to the length that I wanted, tapering out to the full width of my fabric. For the sleeves, I simply extended the sleeve piece by about 3 inches because I tend to want my sleeves a little bit longer. Assembly was the same as the pattern instructions, just with a much, much longer side seam.
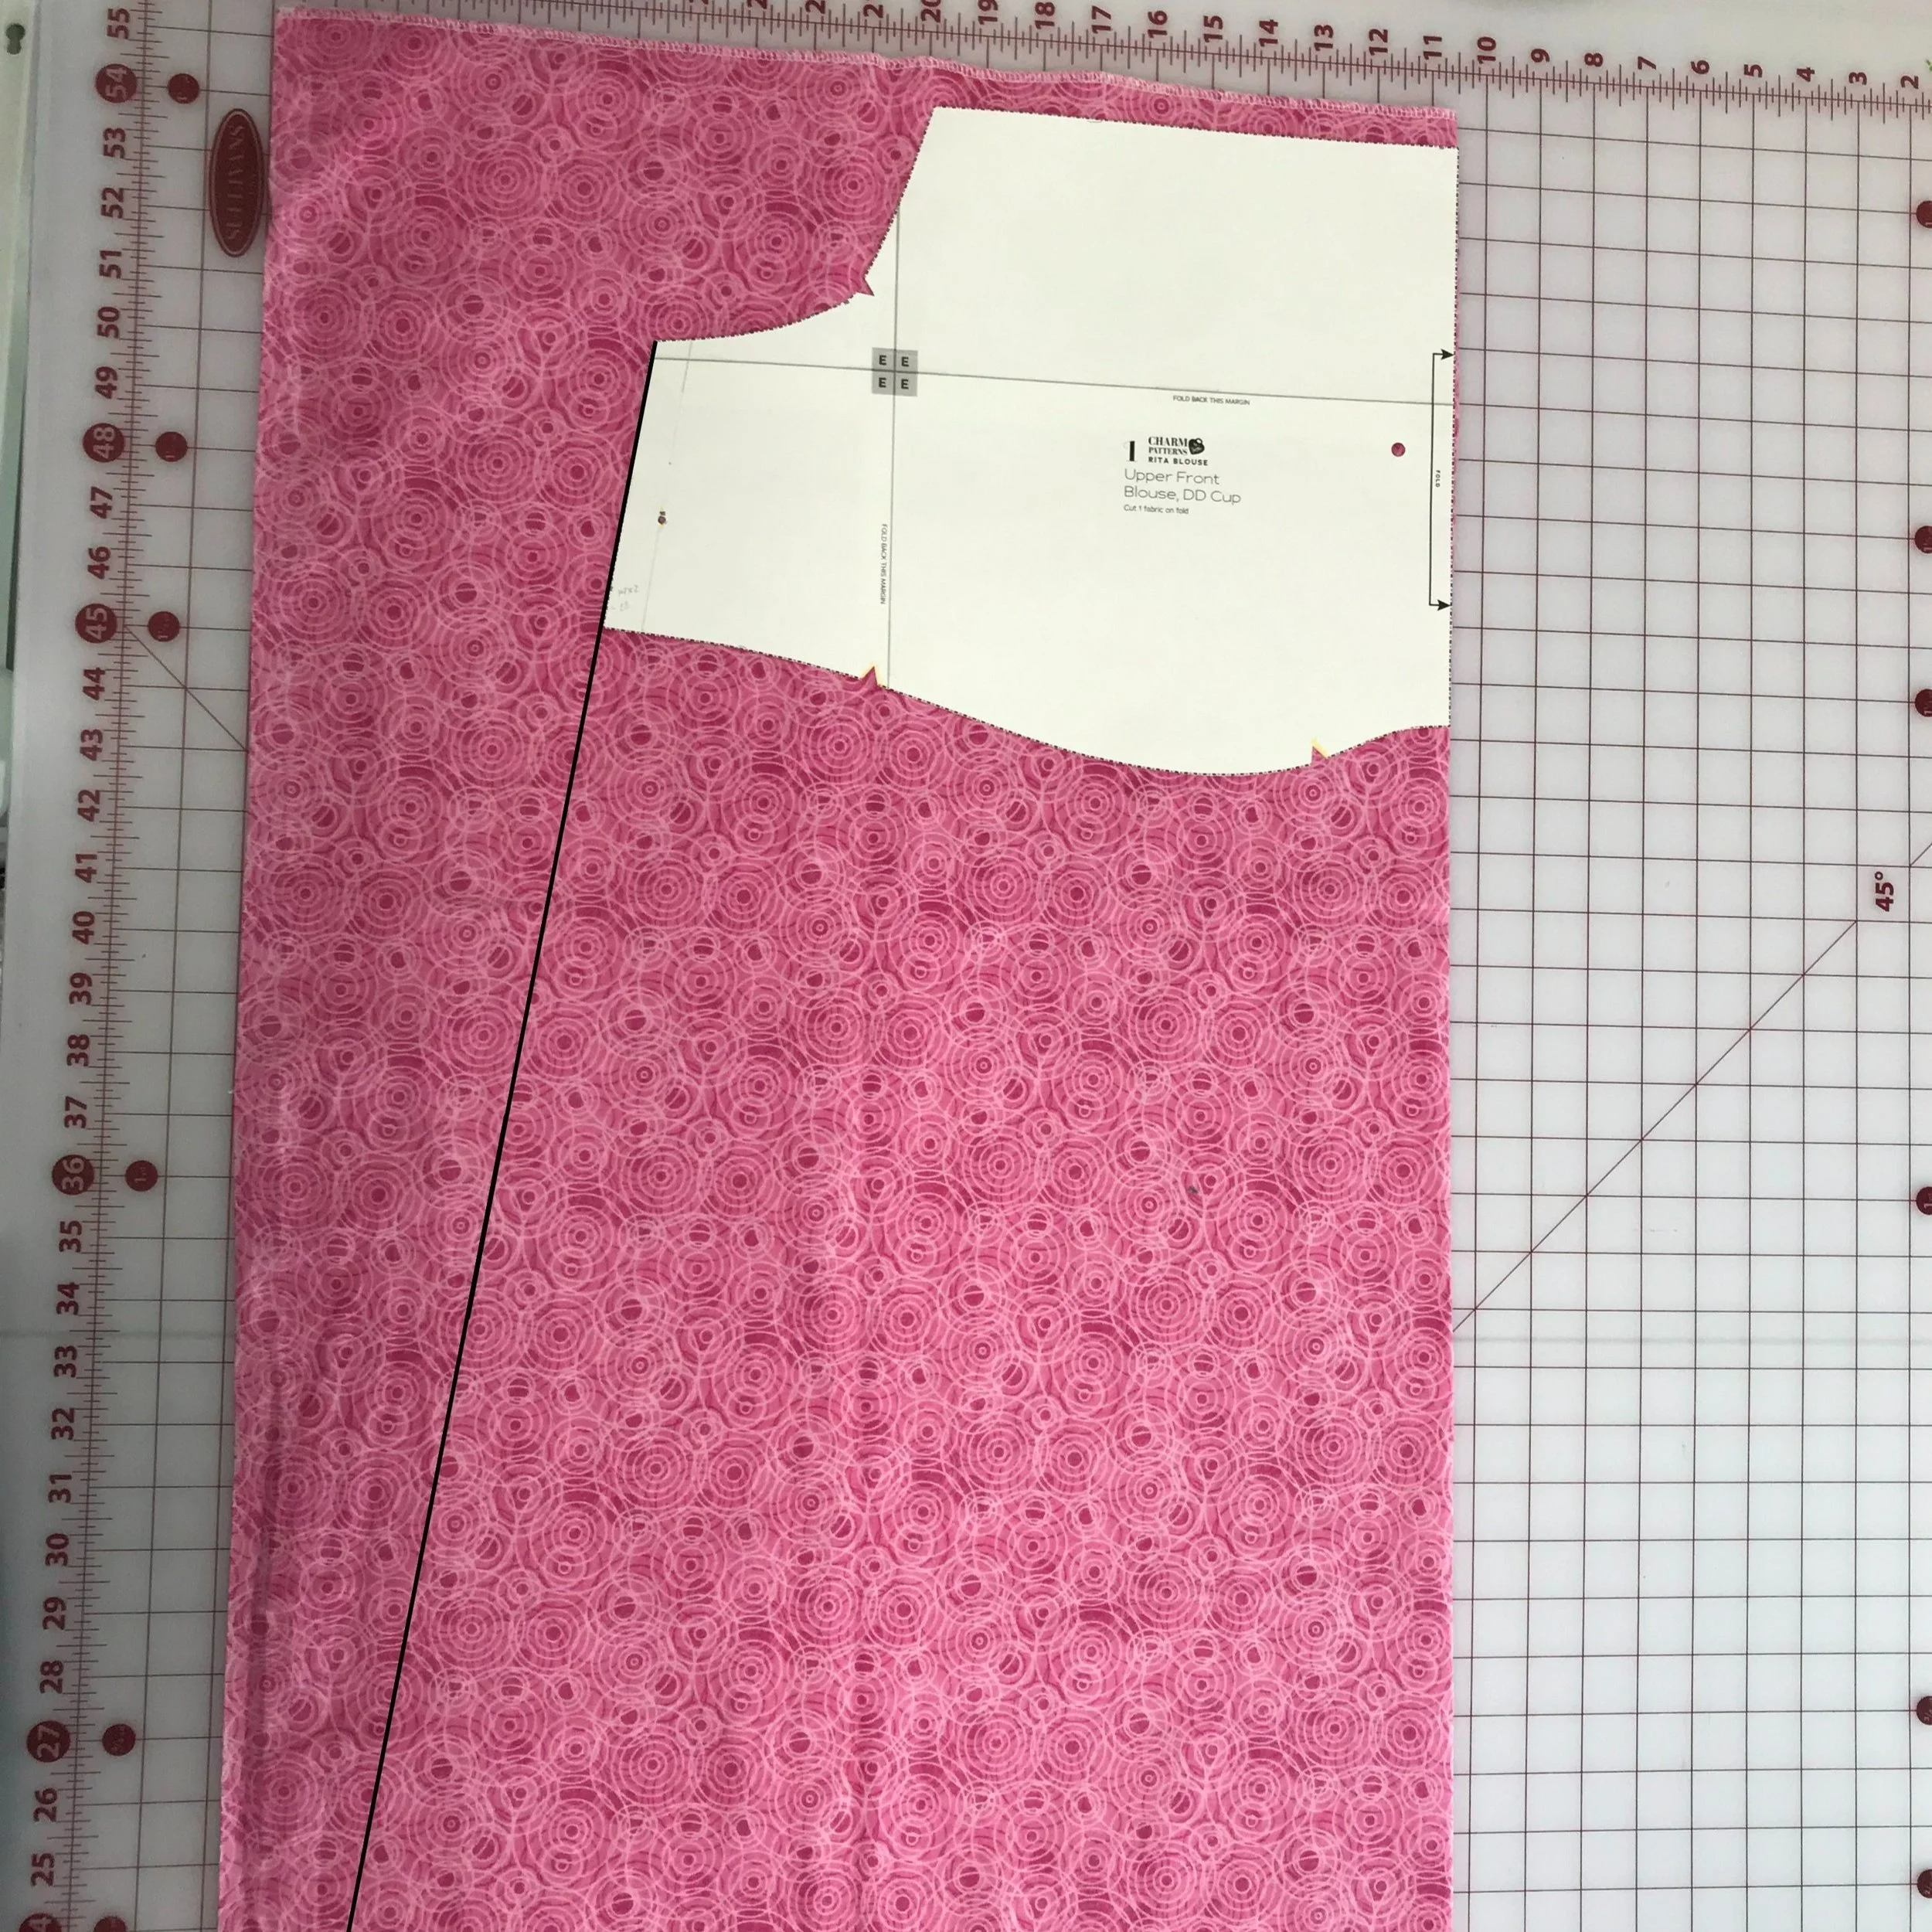
Approximation of cutting line for side seam.

Close-up of elastic casing.
I wanted the waistline to just be elastic in a casing. To determine the placement, I placed the gown on my dress form and marked about an inch below the under bust. If I were to do it again, I would probably drop it down another inch. If I didn’t have a dress form, I could have used the bottom cutting line for the upper blouse pieces as a guide. I happened to have just enough hot pink ½ inch double fold bias tape, which I pressed open so that it was essentially 1-inch single fold bias tape. I stitched this all along the marked line, very close to the edge to form a channel for the ¾ inch wide elastic.

Back view
A quick 1¼ inch hem and it was all done. I probably should have hemmed it a little bit shorter, but I actually kind of love that it brushes the floor, because it helps my feet stay warm.
Once I had a plan, the whole project, including cutting the fabric took less than a day. (This is rare for me because I work really slowly.) I am super happy with how it turned out, and I’m excited to move on to my next project.