
Swirl Dress

Pockets!!
For my second January project I made the Swirl Dress from the Gertie Sews Jiffy Dresses book. The patterns in the book include sizes 2-16. I am a Gertie 16 in the bust, but a 20 in the waist so I needed to grade the pattern out 2 sizes to accommodate my waist.

Wearable muslin of Swirl Dress

Wearable Muslin, back view
Before tackling the final dress, I wanted to make a muslin to make sure my adjustments worked. Since the whole point of this project is to use up fabric that I have, I decided to make a wearable muslin with something from my stash. The muslin fabric is fairly sheer, so I actually underlined it with plain unbleached muslin to make it opaque.
My grading out at the waist worked great, but even though I also graded the sash pieces, my sash ended up a little short. I can only tie it in a knot, rather than a bow, which is mostly fine, but one of the times I wore this dress I had to get help to untie it at the end of the day.
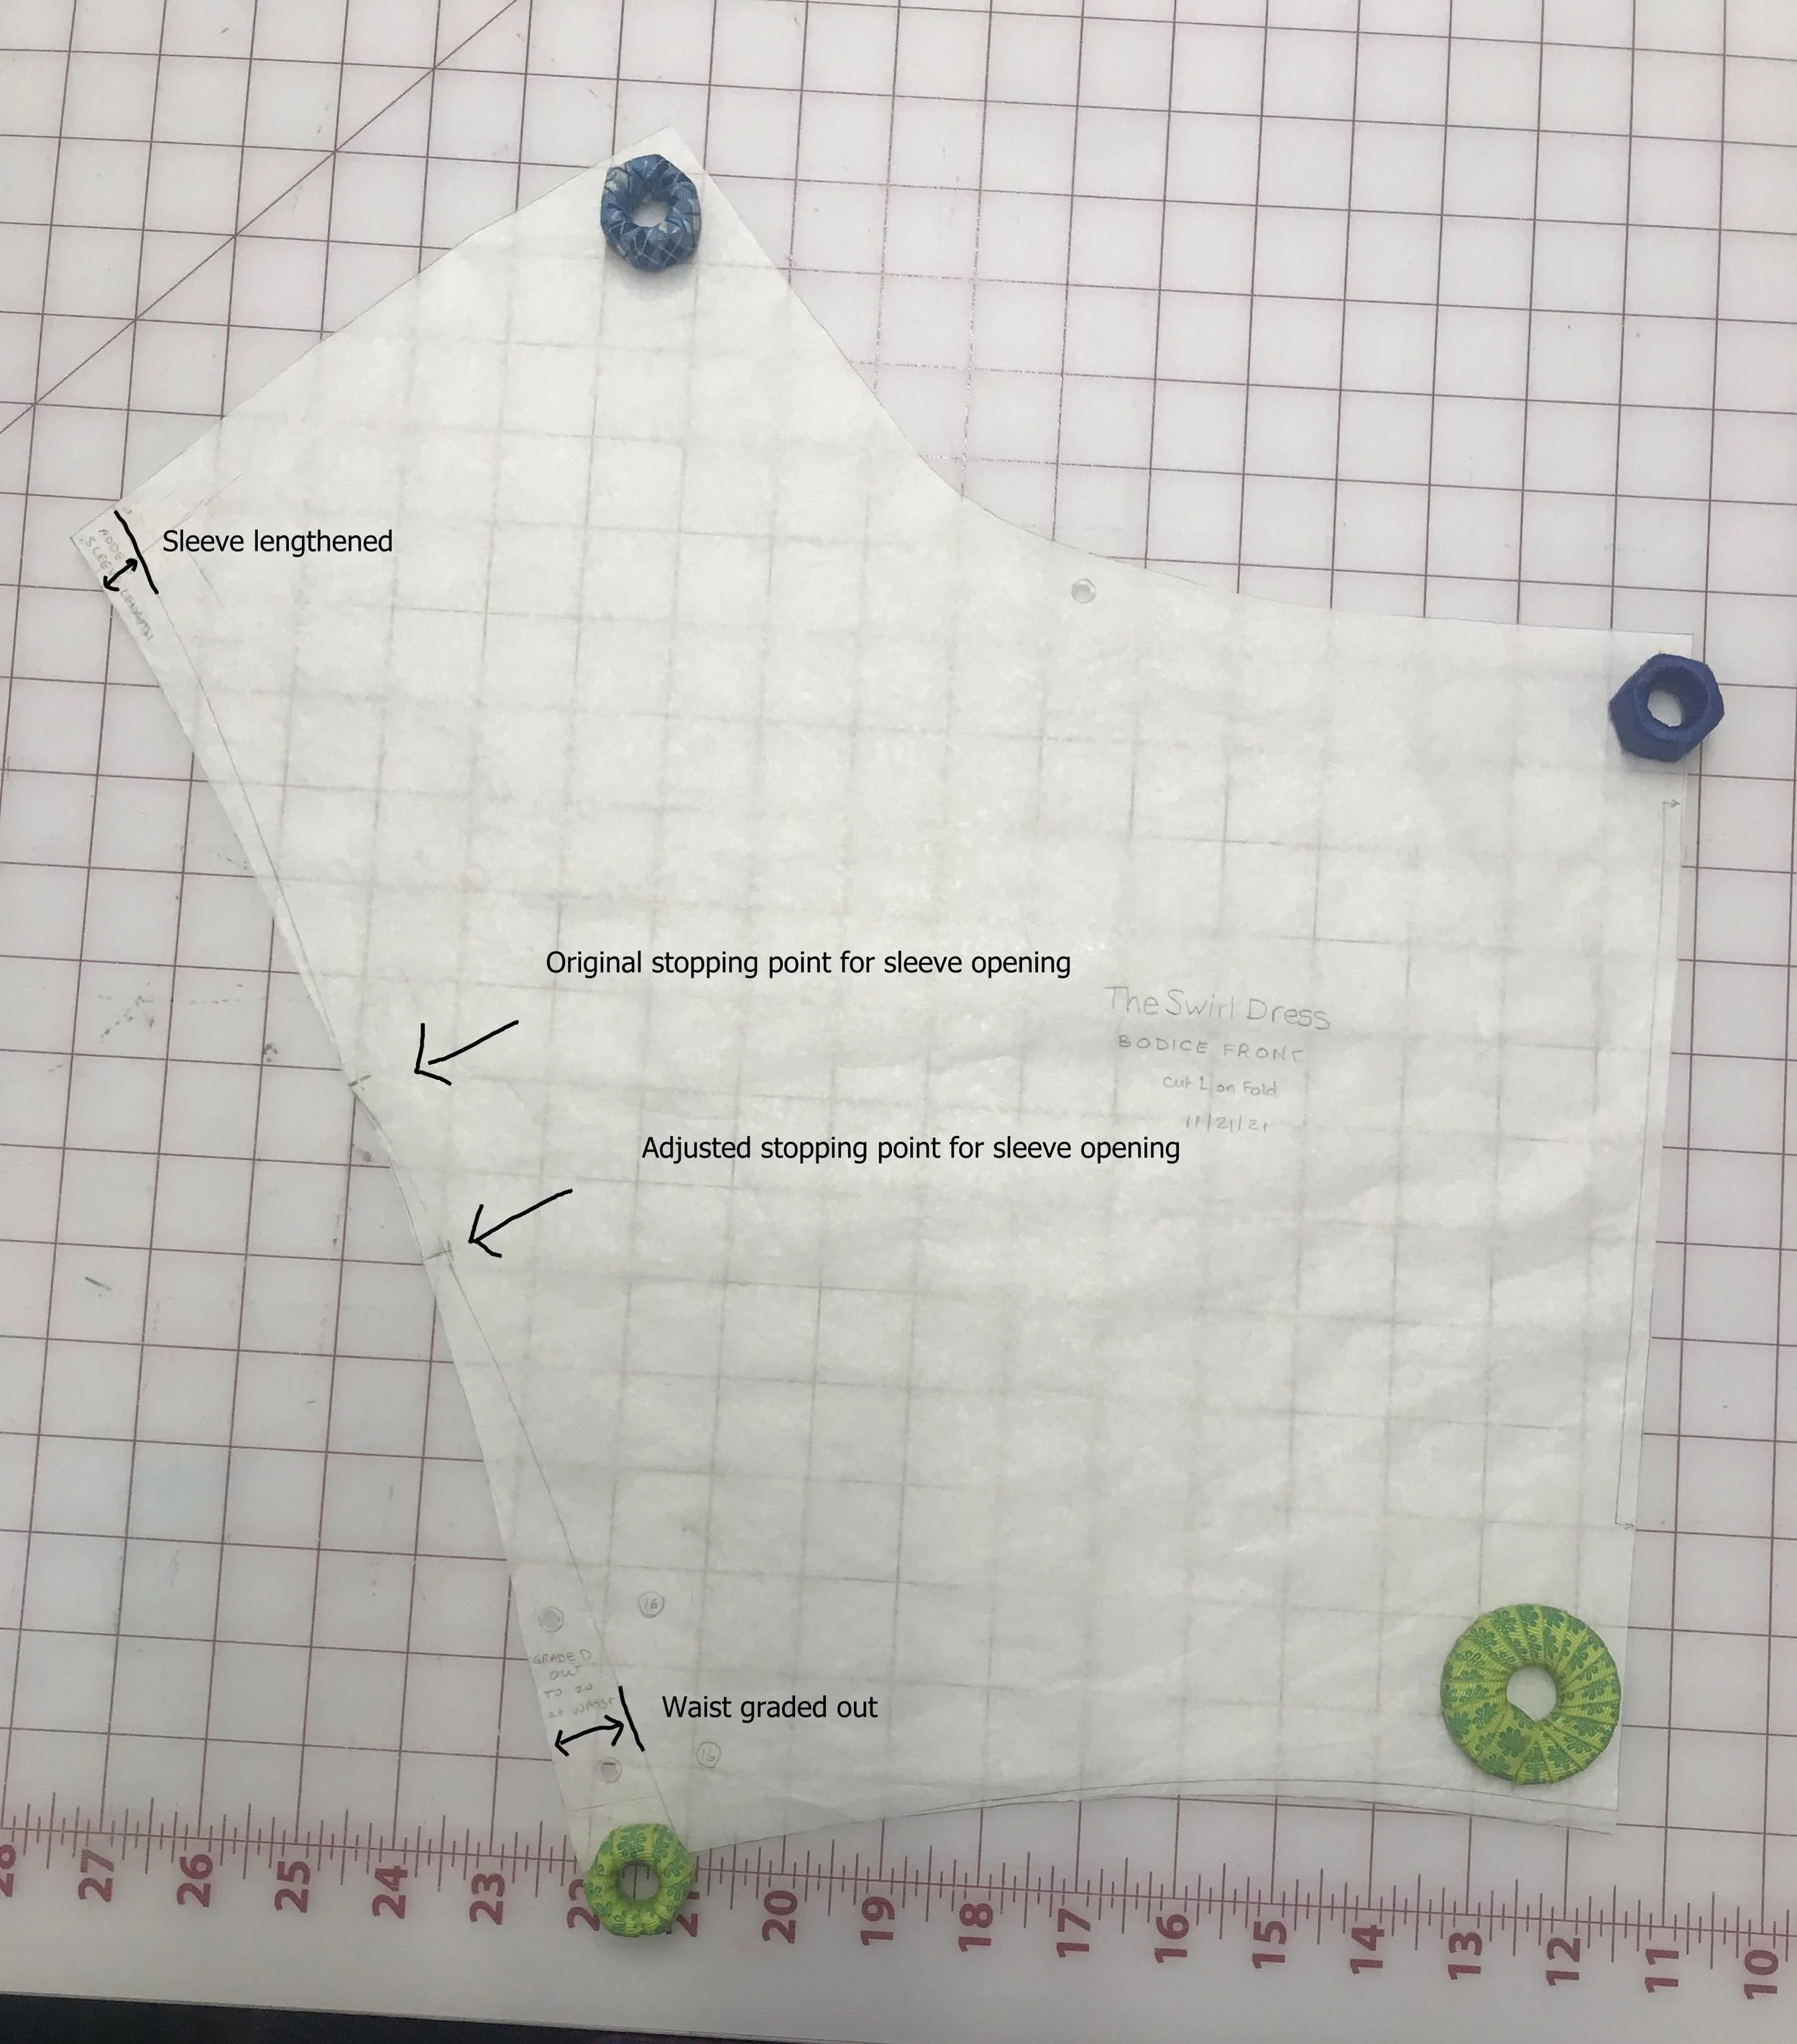
Pattern adjustments
I extended the “sleeve” by ½” for just a bit more coverage but the test garment also revealed that my arms are too big for the sleeve openings, so I had to open up the side seam by a couple of inches.

Final Swirl Dress, front
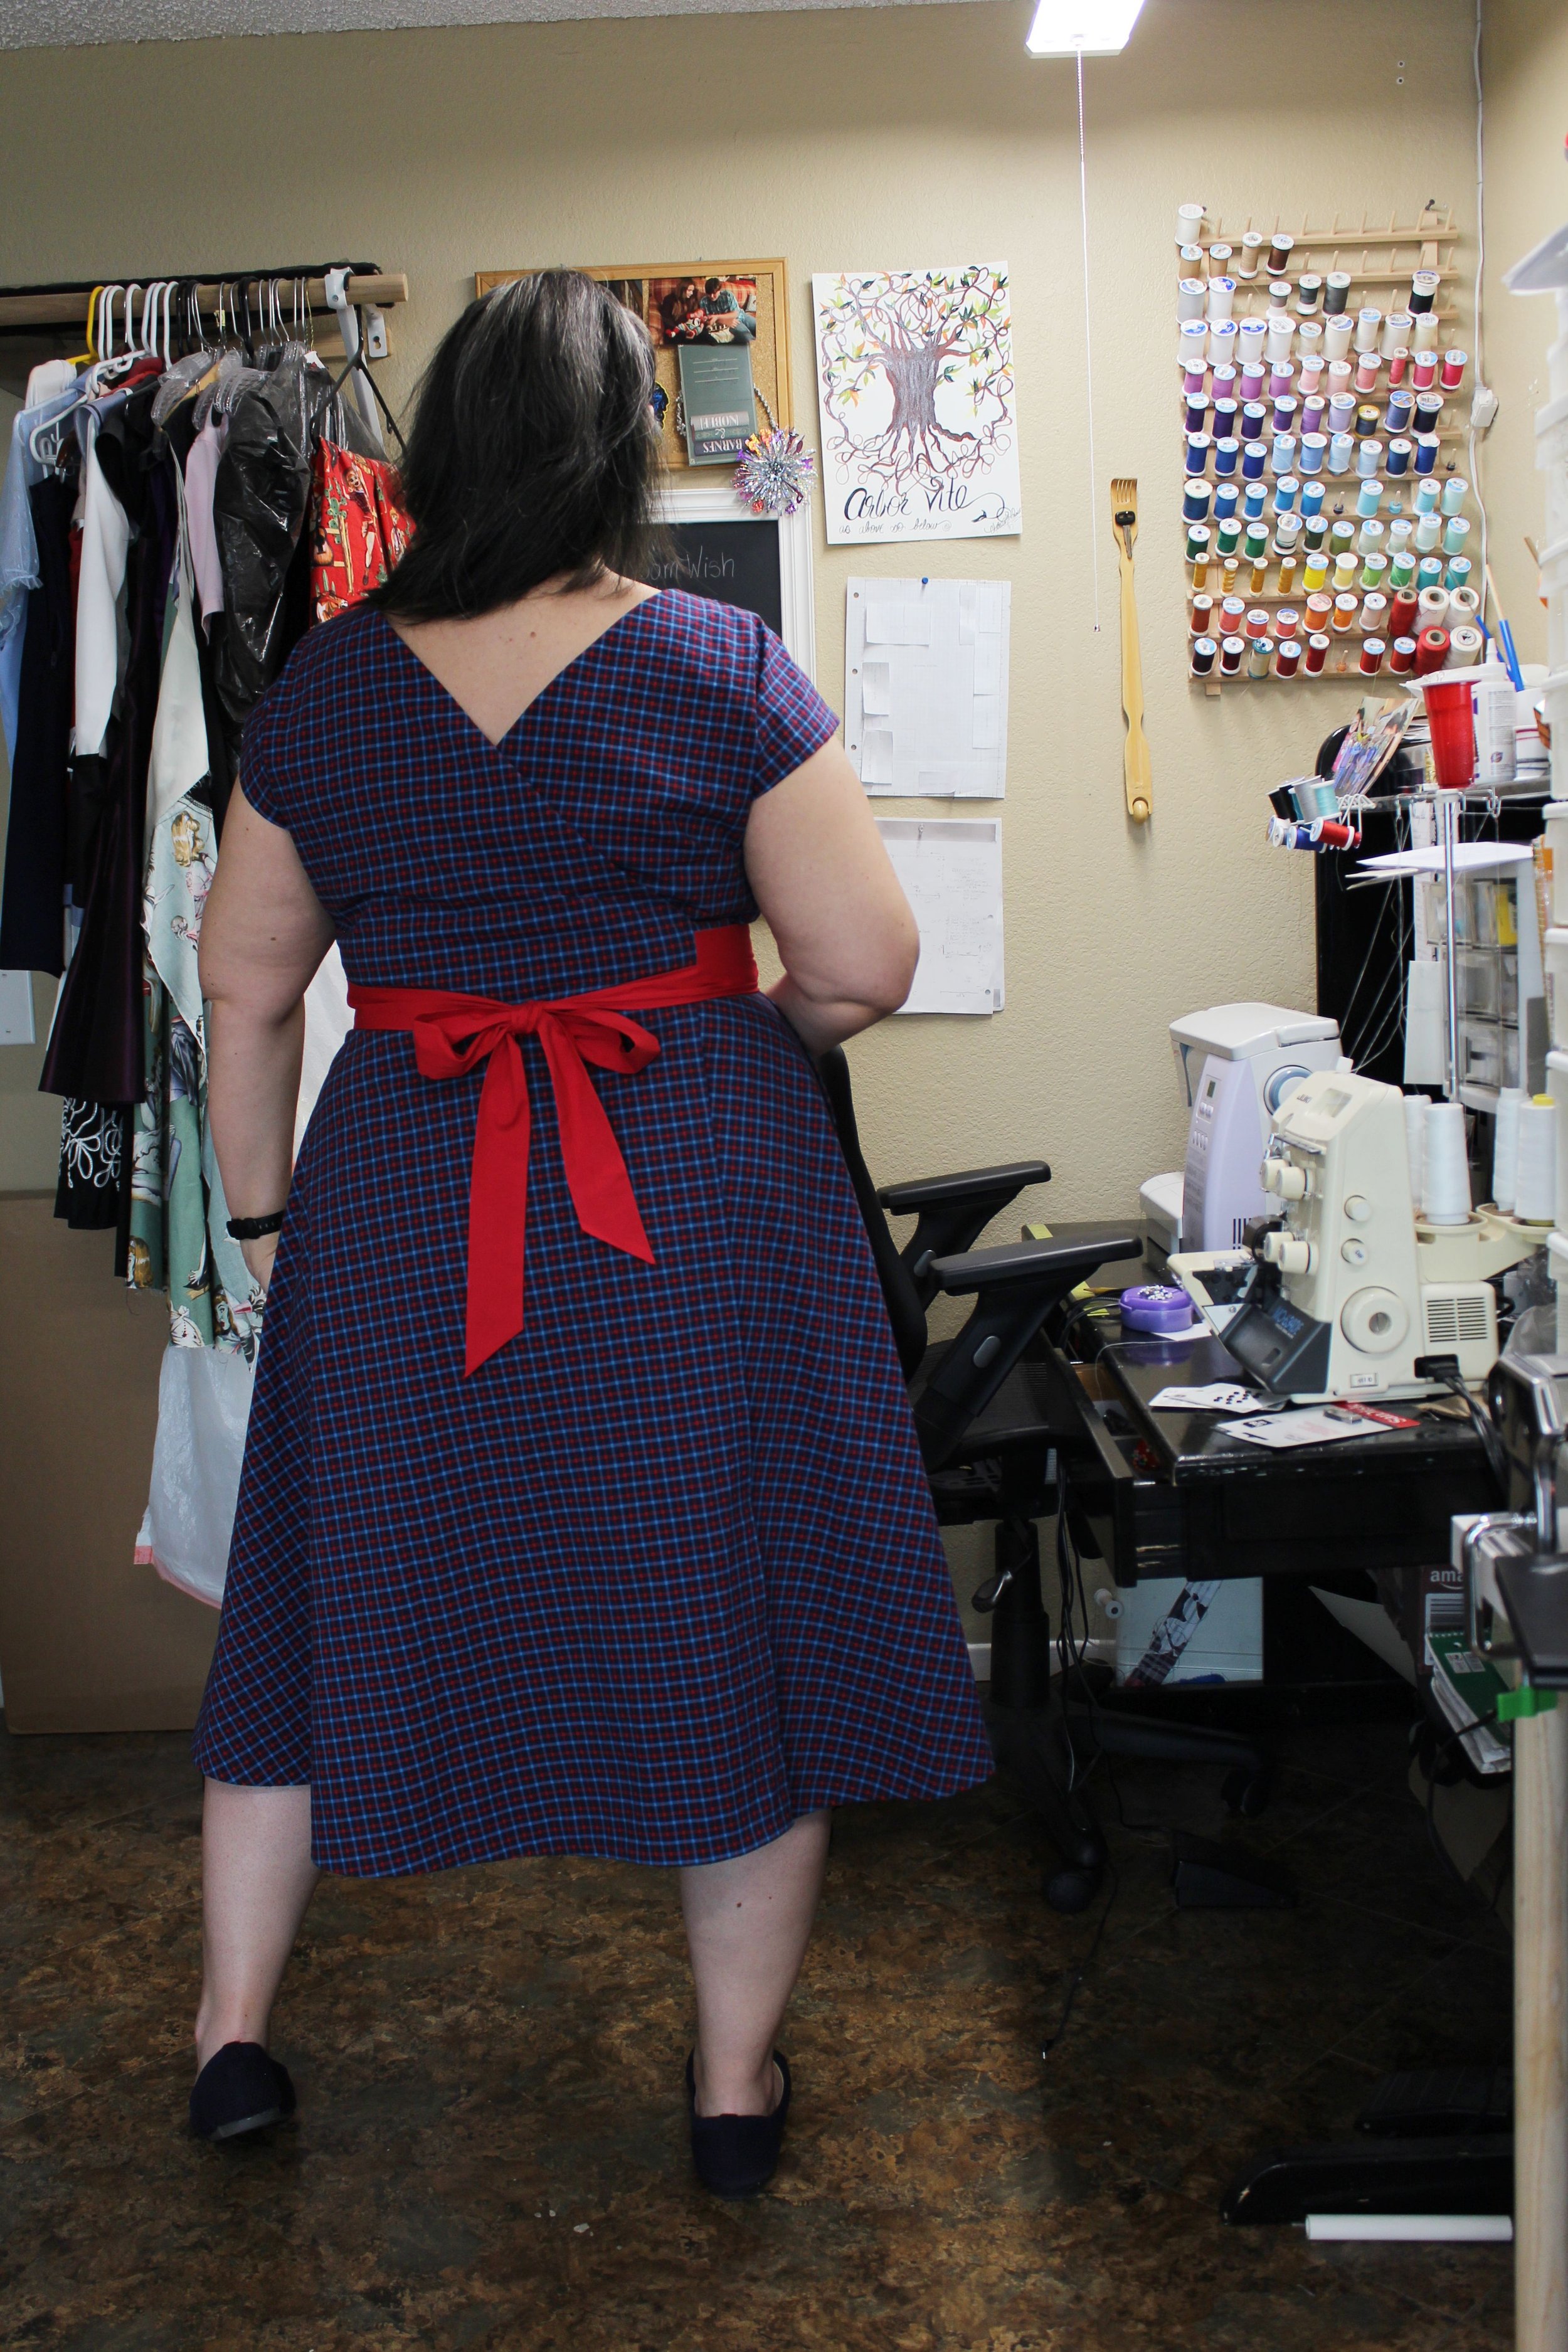
Final Swirl Dress, back
The fabric for the final garment is a cute blue and red tattersall check cotton shirting from Mood Fabrics. It was purchased back in November 2020 along with several other cotton shirtings and then in typical Naomi fashion, I lost motivation and didn’t do anything with any of them. I really like this one, so luckily, I have enough left over to make some kind of short sleeve blouse as well. At the last minute (and to ensure I had enough fabric left over for a blouse) I decided to make a contrast sash. Fortunately, I have several yards of a cotton in the same red as the red checks in the tattersall.

Hem using bias tape
I did end up making a few extra adjustments at this stage. I extended the sash length by 18 inches to make sure I would be able to tie it in a bow. I also added side seam pockets, because of course I did! Because I am tall and prefer a past the knee length on my vintage style dresses, I added an inch of length at the hem. To allow a tad more length, I also used single fold bias binding for the hem.

Shoulder snap. No more falling off!
When I wore the test garment, I found that as the day wore on, it started to slip off of my shoulders due to the wrap design and the extended shoulder sleeves. To remedy this problem on the final garment, I made some strips from bias cut scrap fabric, which I stitched on one end to the facing at the shoulder and added a snap to the other end to allow it to attach to my bra strap, preventing the shoulders from slipping.